Adding Images and Resizing Layers
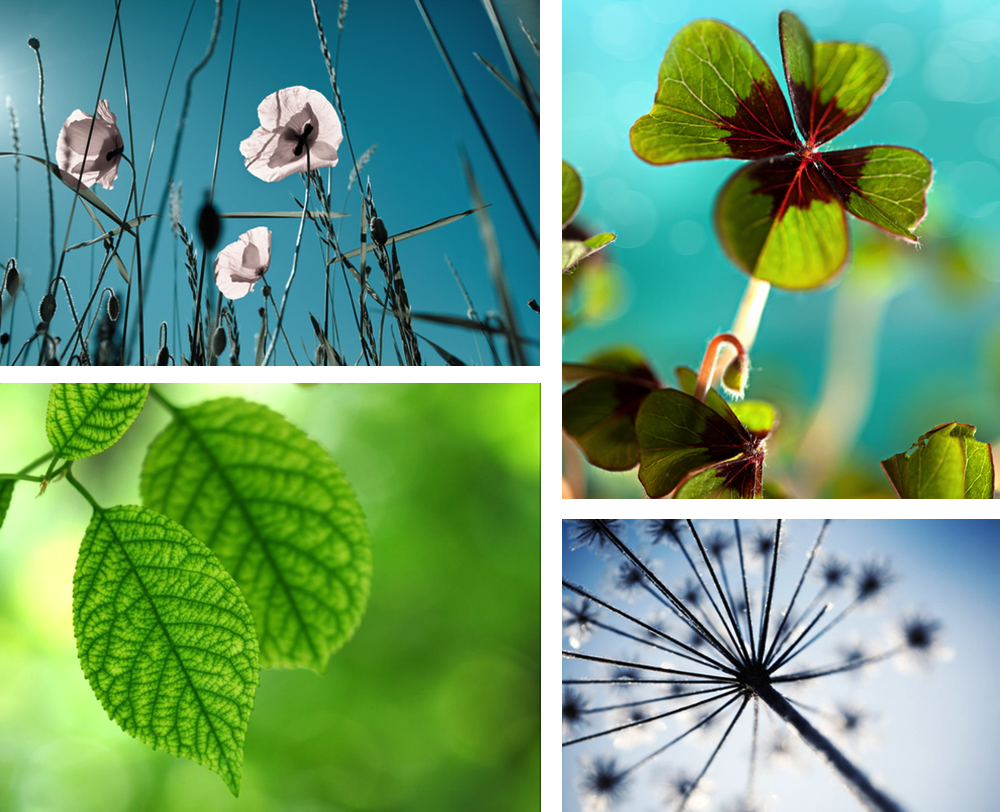
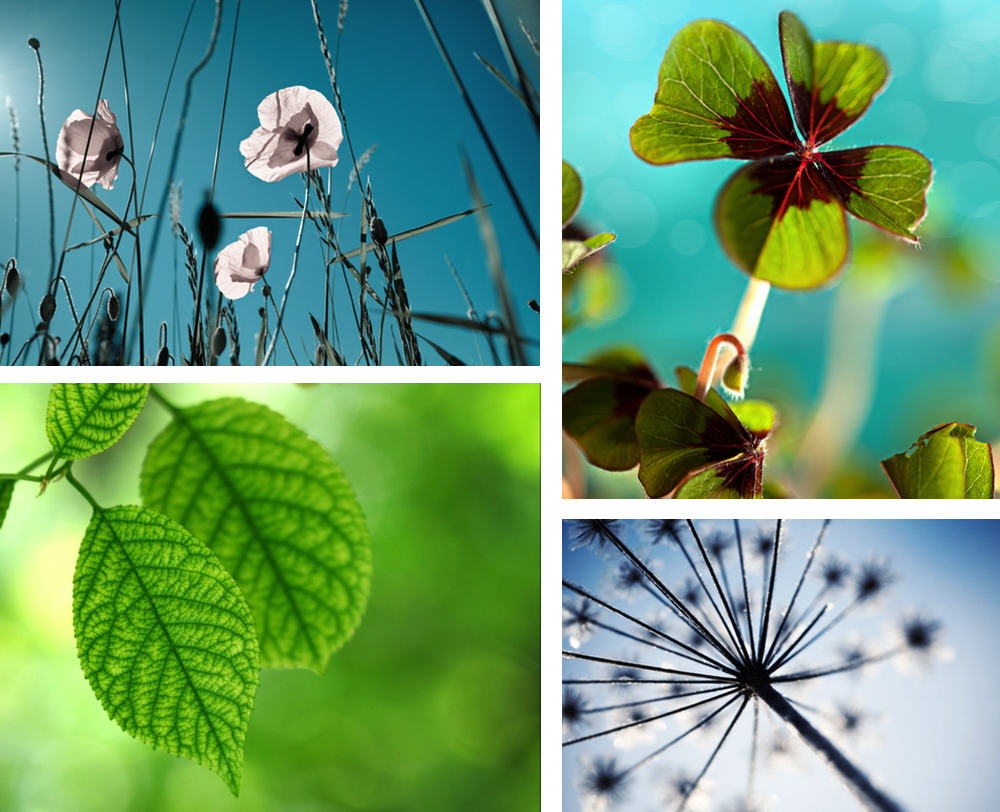 This tutorial will go over how to insert and resize images. Create a new image, File ▸ New. The canvas dimensions used here are 1600 x 1200 pixels with a white background. Use File ▸ Add Images… to add your first image. Alternatively you can copy and paste images into your canvas, or drag and drop the files onto the canvas.
Tip: If you add a single image via the File ▸ Add Images… menu item, and it doesn't fit on the canvas, Acorn will begin a scale and rotate transform for you. The image will be automatically scaled to fit into the canvas. If you want to pop out of the scale, pressing the ESC key will end it.
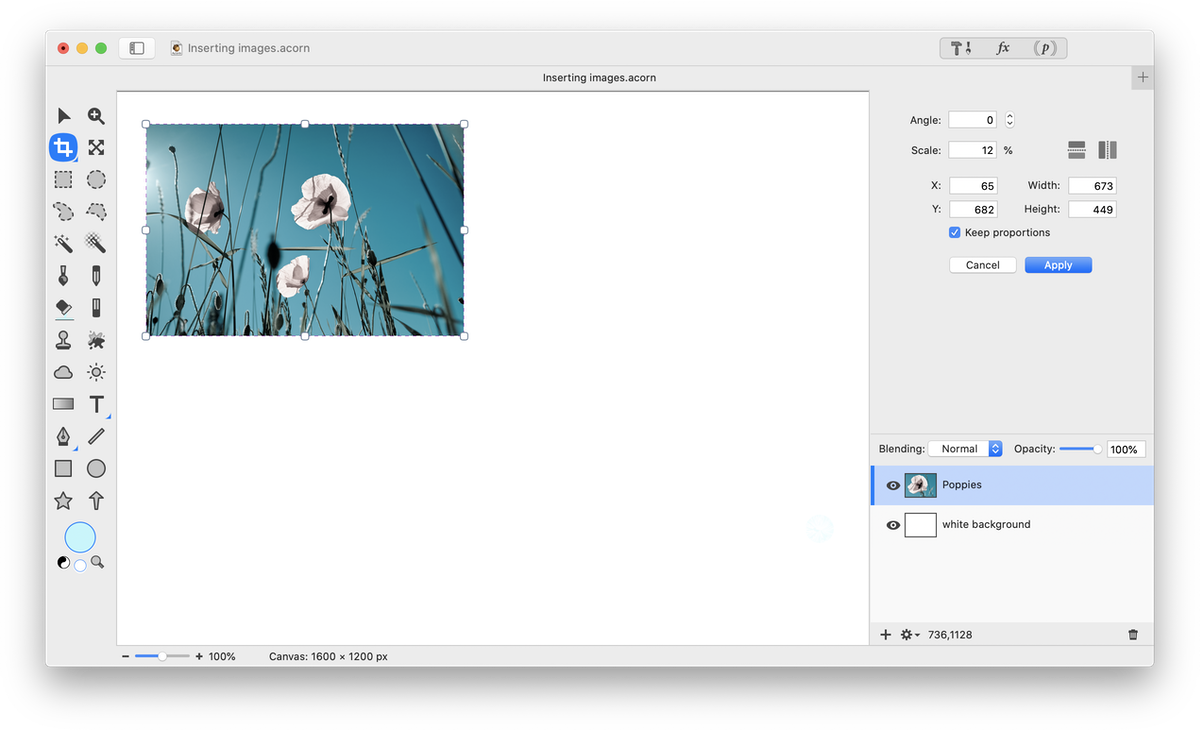
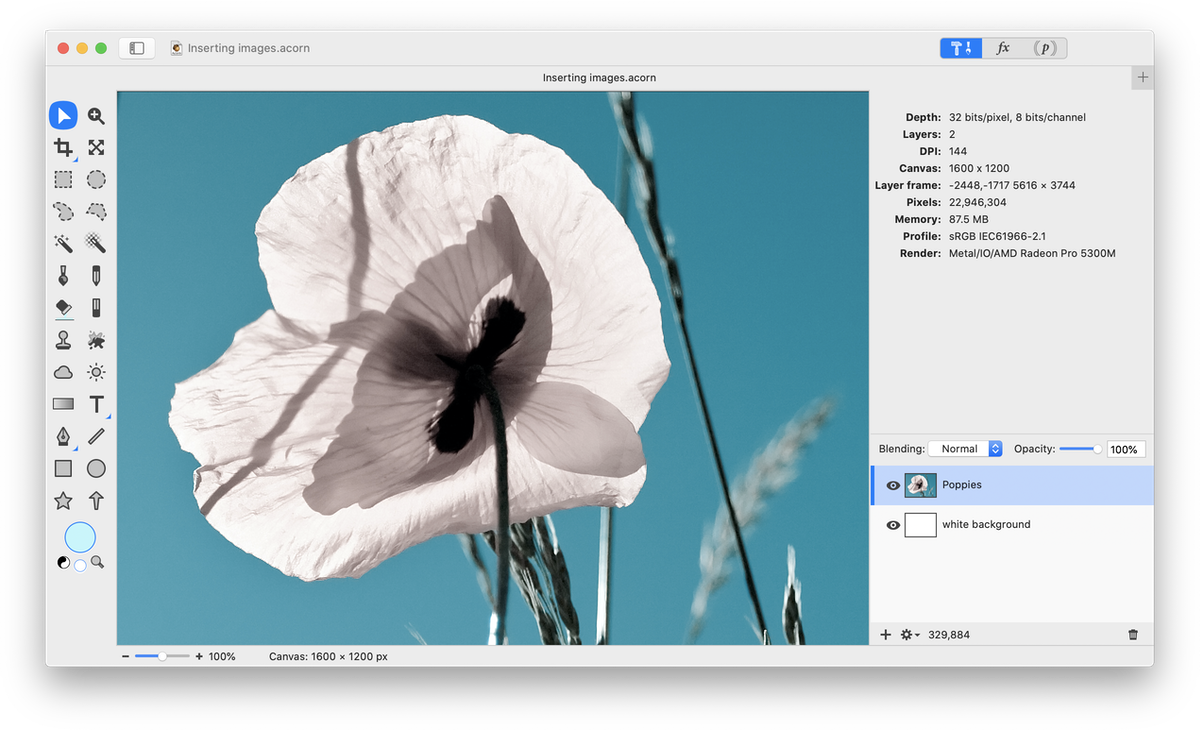 The image of the flower is much larger than the canvas. To resize the image, use Layer ▸ Rotate and Transform ▸ Scale and Rotate (⌘⇧T). Handles and an outline will appear around your image. Increase or decrease the size of the image by dragging in or out on a corner handle, or you can enter a value in the 'scale' field in the inspector palette. You can also move the image around the canvas by clicking in the middle and dragging it around. Once you have the image placed where you want it, double click to end the transformation, or click ‘Apply’ in the palette.
 Add a few more images and repeat the steps outlined above for resizing them and moving them around on the canvas. If you wish to remove or "crop" parts of a layer you have added, use the crop tool. Make sure you are currently selected on the layer you are going to modify. Choose the crop tool and drag out a rectangle over the area of canvas you wish to keep. When your crop dimensions are looking good, hold down the option key and click ‘Crop Layer’ in the inspector palette. For more information on how to use the crop tool, read here.
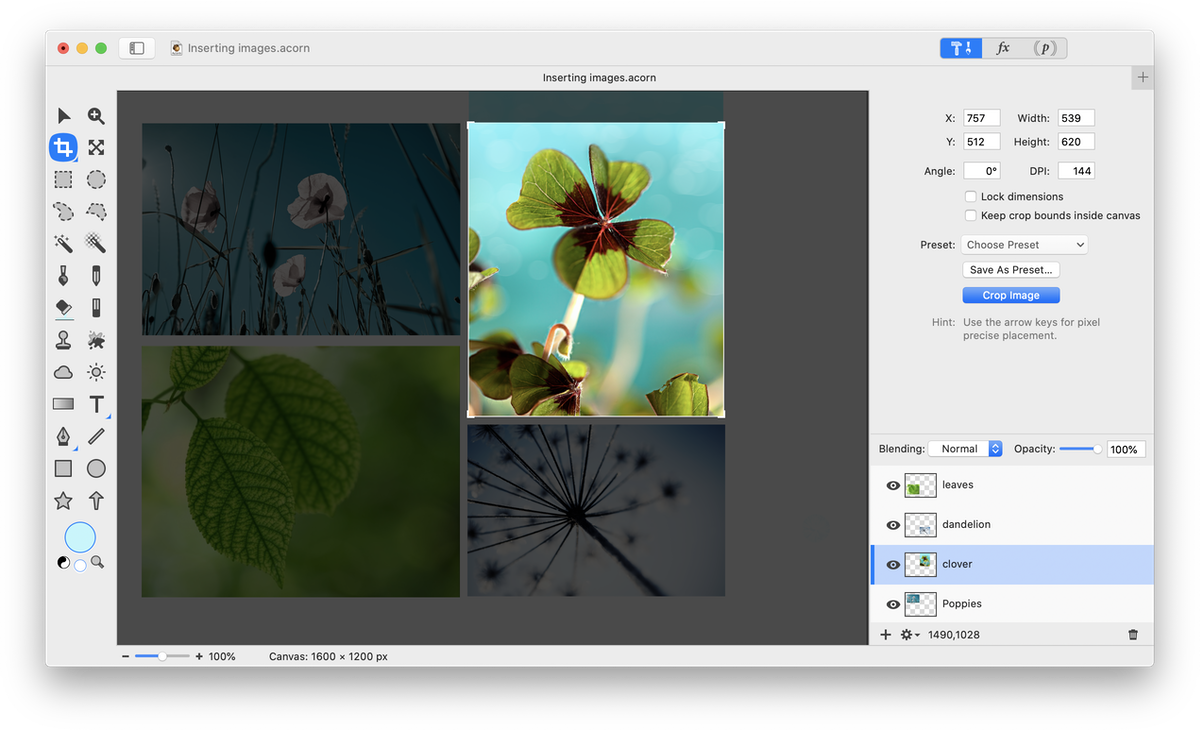
Repeat this process with other images you wish to add to your canvas. You can use guides to get your images lining up precisely (see rulers and guides from more information), and the crop tool to trim off any blank areas of canvas that are left over.
This technique is useful for placing many images into a single image, compositing, or creating storyboards.
 See Also: Using Layers Part 2 (Video Tutorial)
Photo Credits
Leaves © Peter Gudelia; Clover © Nailia Schwarz; Flower © Kati Molin; Poppies © Nailia Schwarz


