Invitations
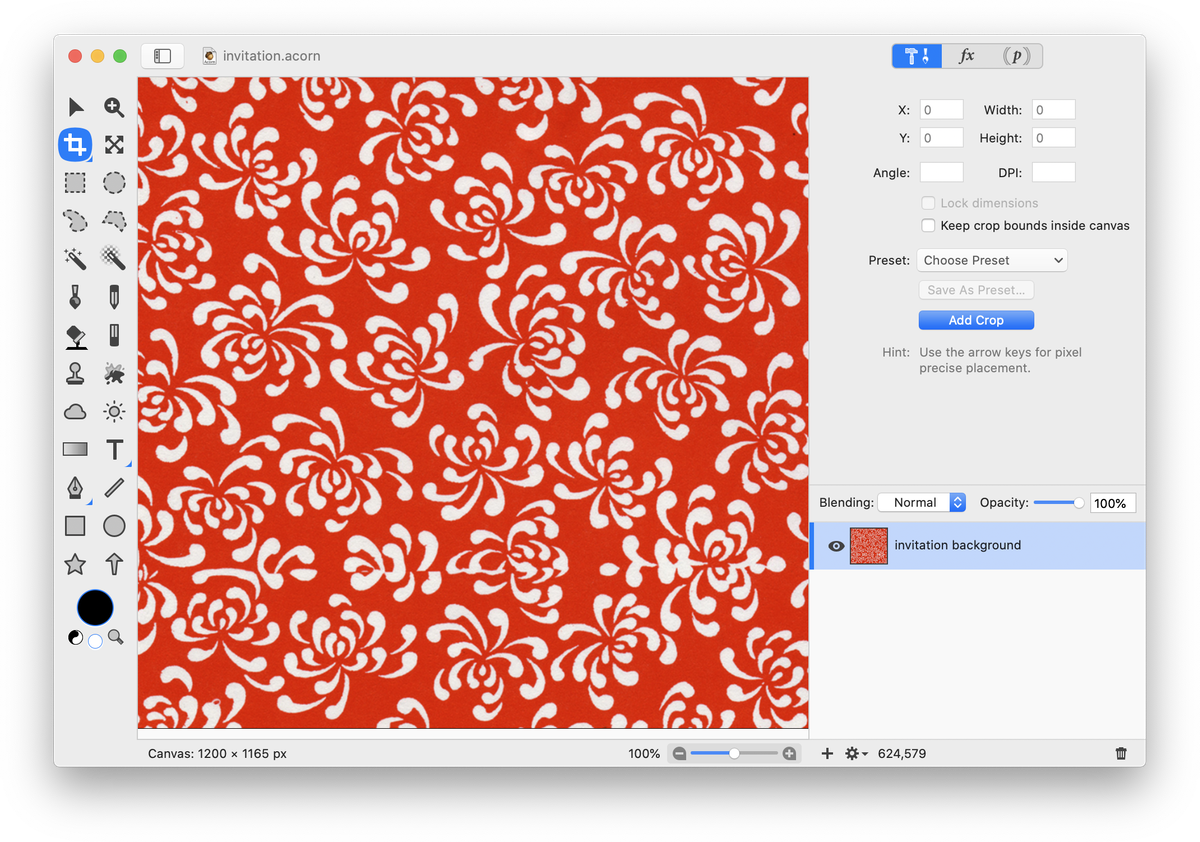
This tutorial will go over how to create an invitation using Acorn. Choose a nice paper texture for your background and open the image in Acorn, . Both the red floral pattern and the teal paper textures are from http://www.cgtextures.com.
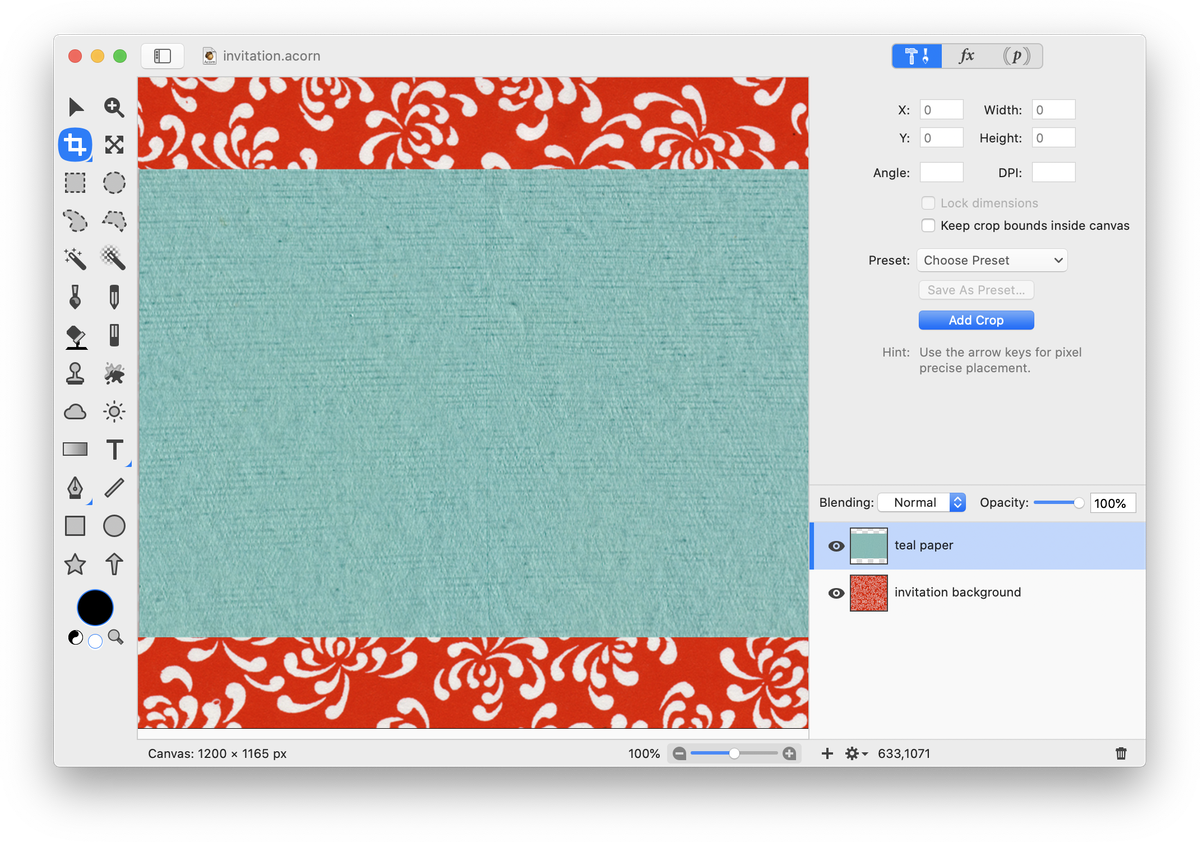
 Add a second texture to your image, Resize it if necessary by selecting (⌘⇧T).
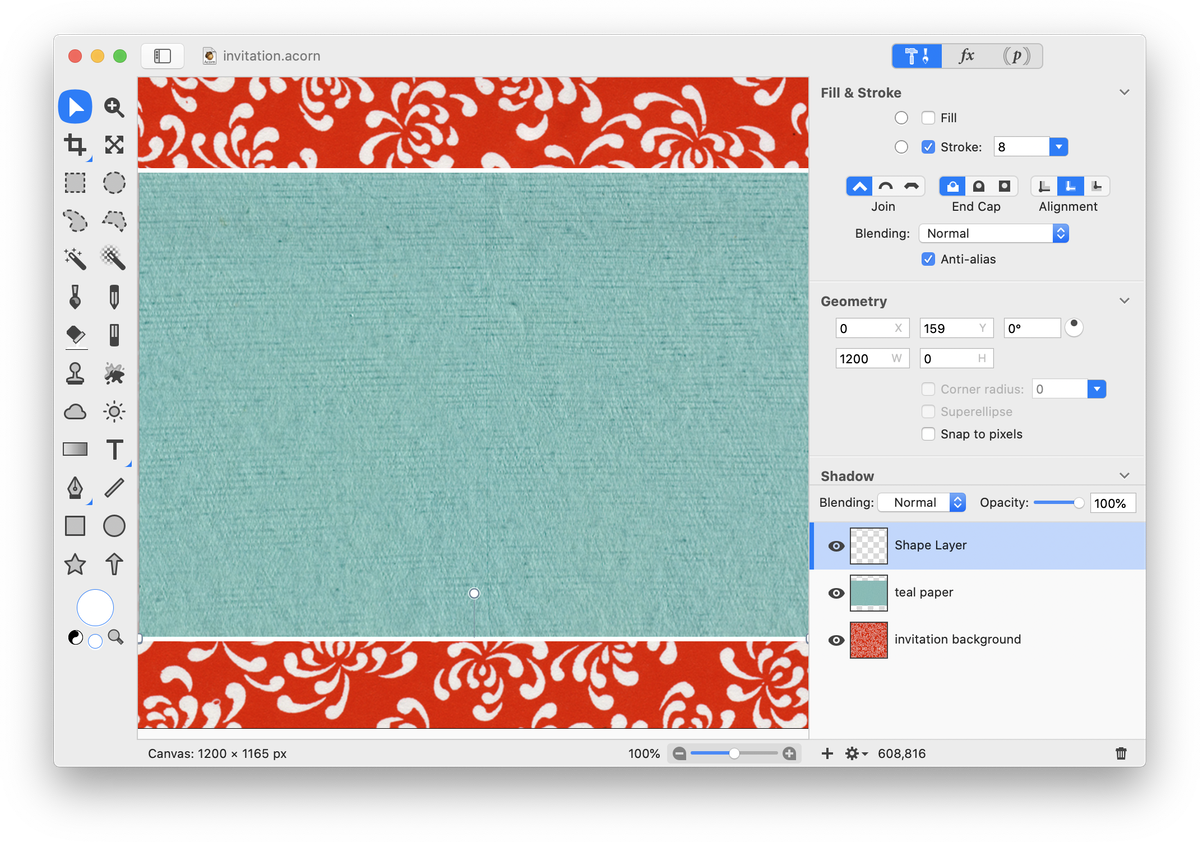
 Select the line tool in the tools palette. Draw two thin white lines to create a barrier between the two paper textures.
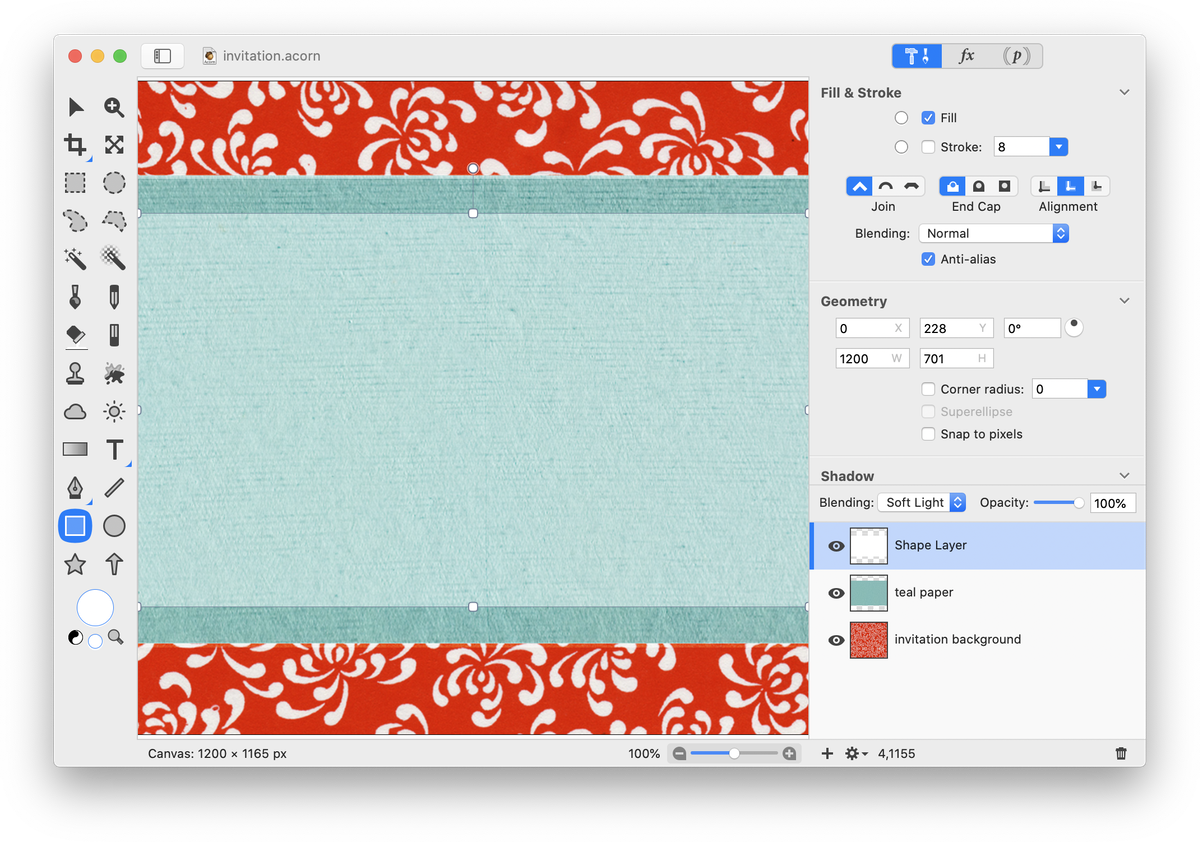
 Go to Layer ▸ New Shape Layer. Select the rectangle shape tool in the tools palette and create a rectangle with a white fill and no stroke. The text of the invitation will be placed here. Set the blending mode of the rectangle shape layer to "Soft Light".
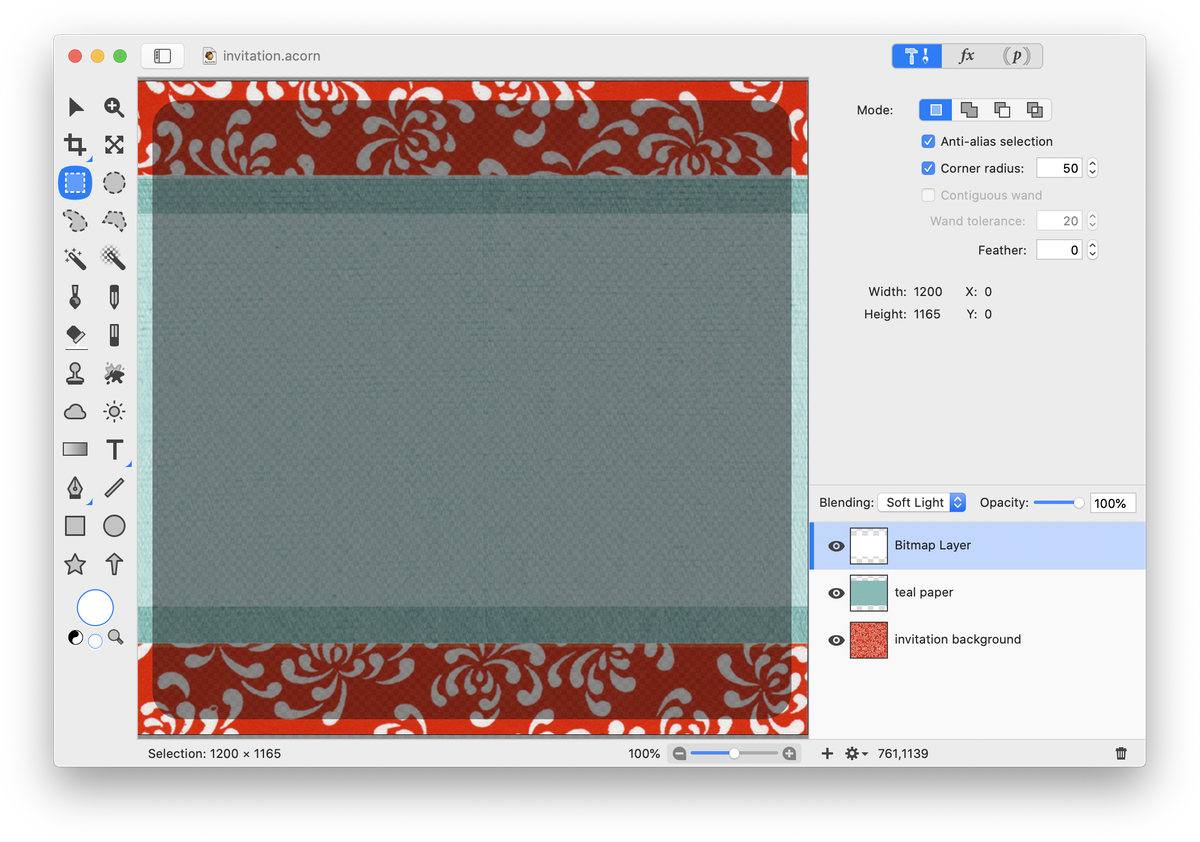
 Rasterize your shape layers, . Select the rectangle selection tool from the tools palette. Set the corner radius to around 50. Create a selection that goes close to the boundaries of the image. Now, go to Select ▸ Inverse. The selection below is shown as “clipped out’ to highlight its placement.
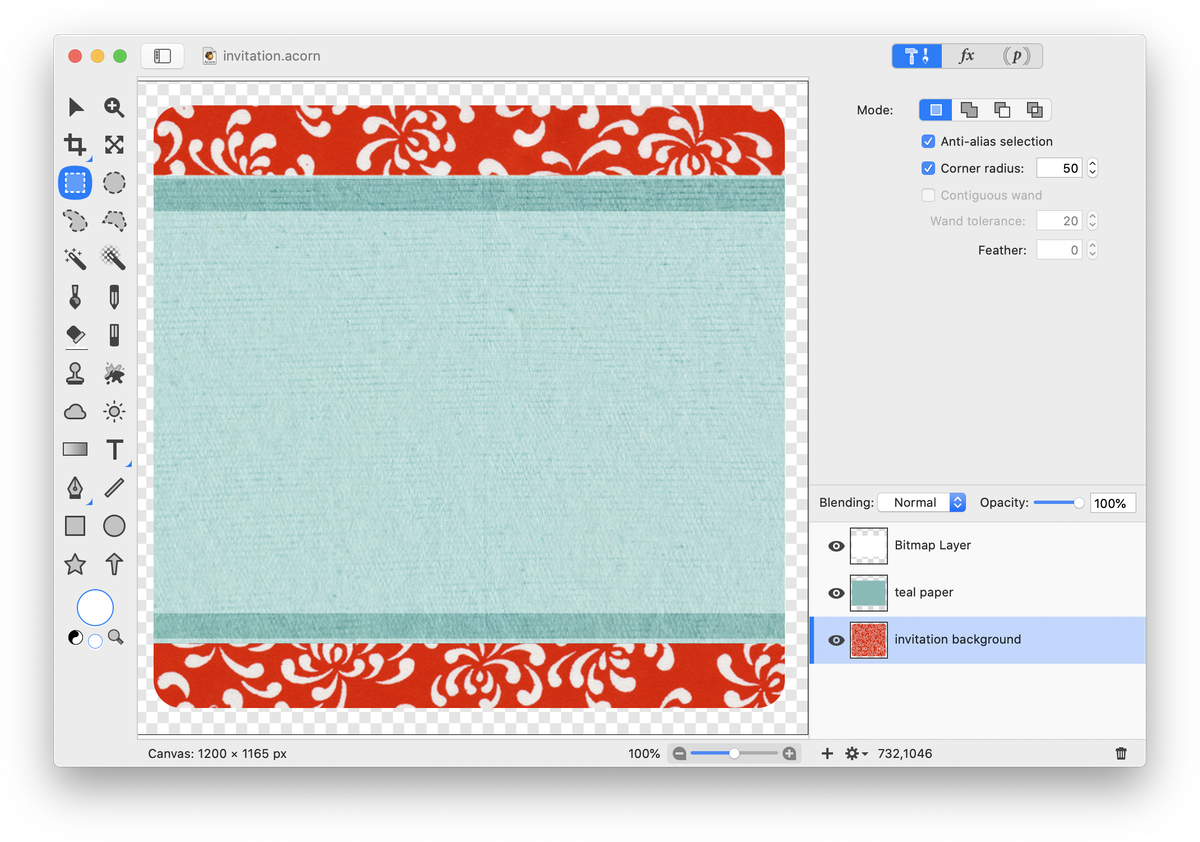
 Hit the delete key. Go through and click on each of your layers in the layers list (with the selection still active) and hit delete. This will trim off a part of each layer. Deselect (⌘D). Your image should now have a transparent border and rounded edges.
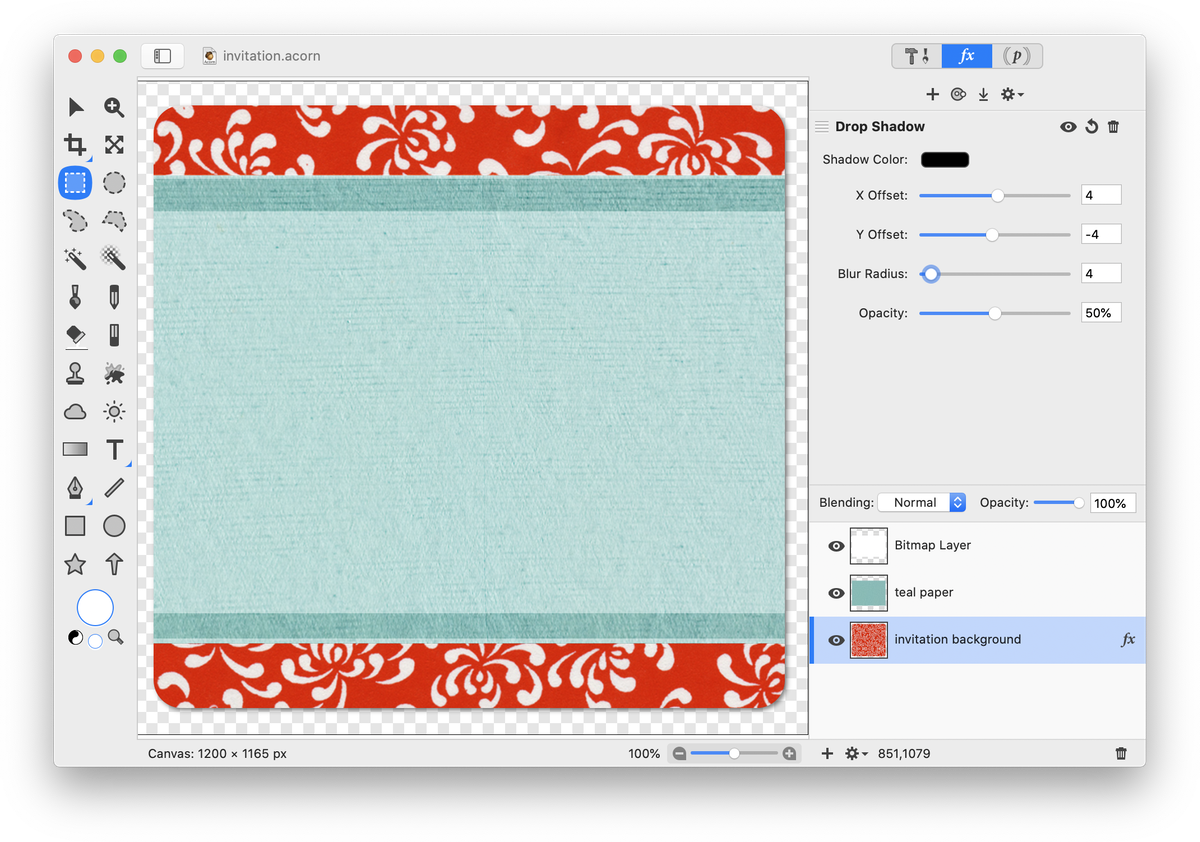
 Select the bottom layer (the red floral print) and go to . Adjust the drop shadow to your liking.
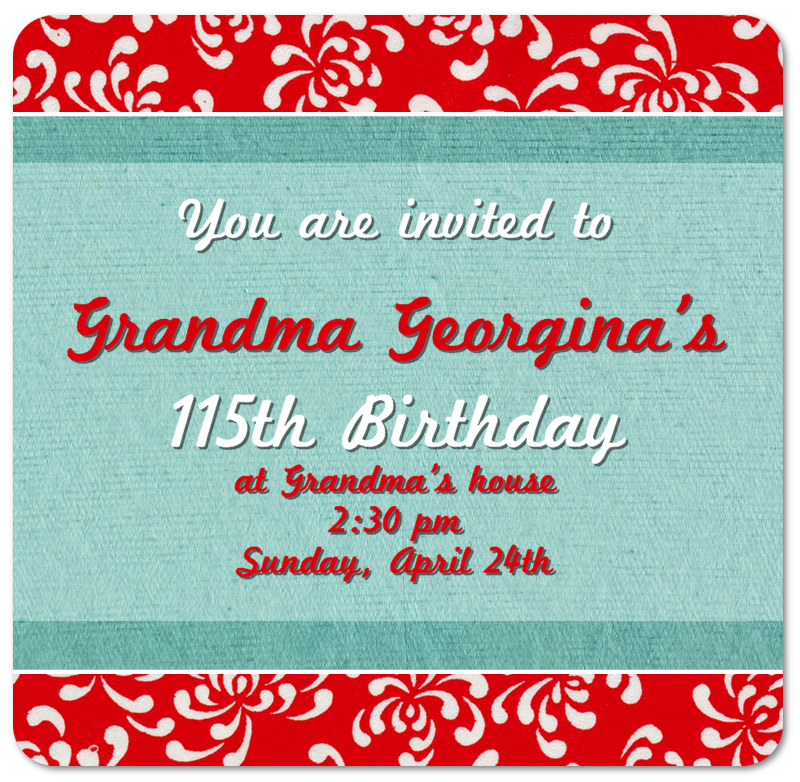
 Select the text tool in the tools palette and write out the contents of your invitation. Play around with the font type, size and layout to achieve your desired appearance. To give the text more depth, add a drop shadow. For more information on how to do this, read 'Drop Shadows'. Play around with the x, y offset of the shadow and the blur.
