Shape Processor Flowers
 This tutorial will outline how you can create intricate vector flowers using Acorn’s shape processor. To start, create a new image, File ▸ New. The dimensions used here are 1200 x 1200 pixels with a white background. Go to View ▸ Guides and Grids and make sure ‘Snap to Canvas’ is checked.
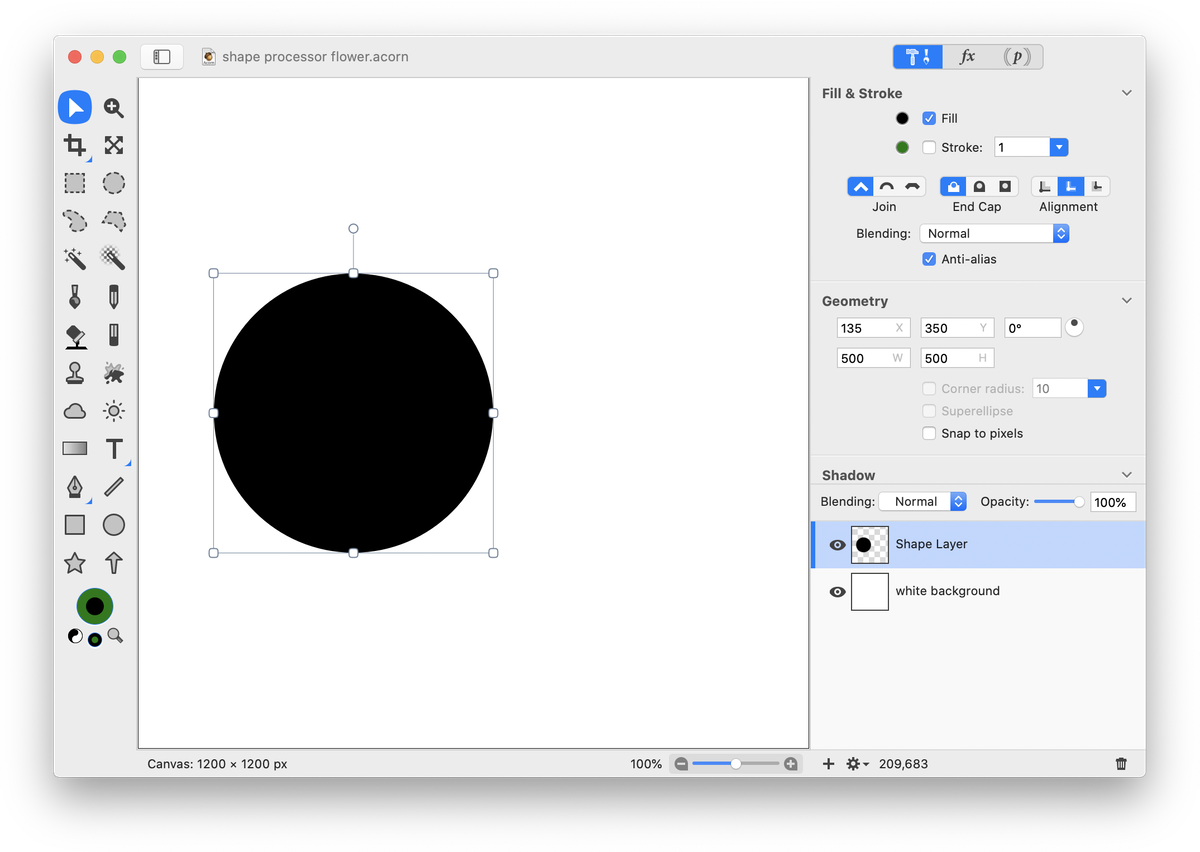
Select the oval shape tool. Your circle should have a fill but no stroke. Hold down the shift key and draw out a circle. With the circle still selected, change the dimensions in the inspector palette to 500 x 500 pixels. Using the move tool, move the circle so it is lined up along the horizontal center of the canvas.
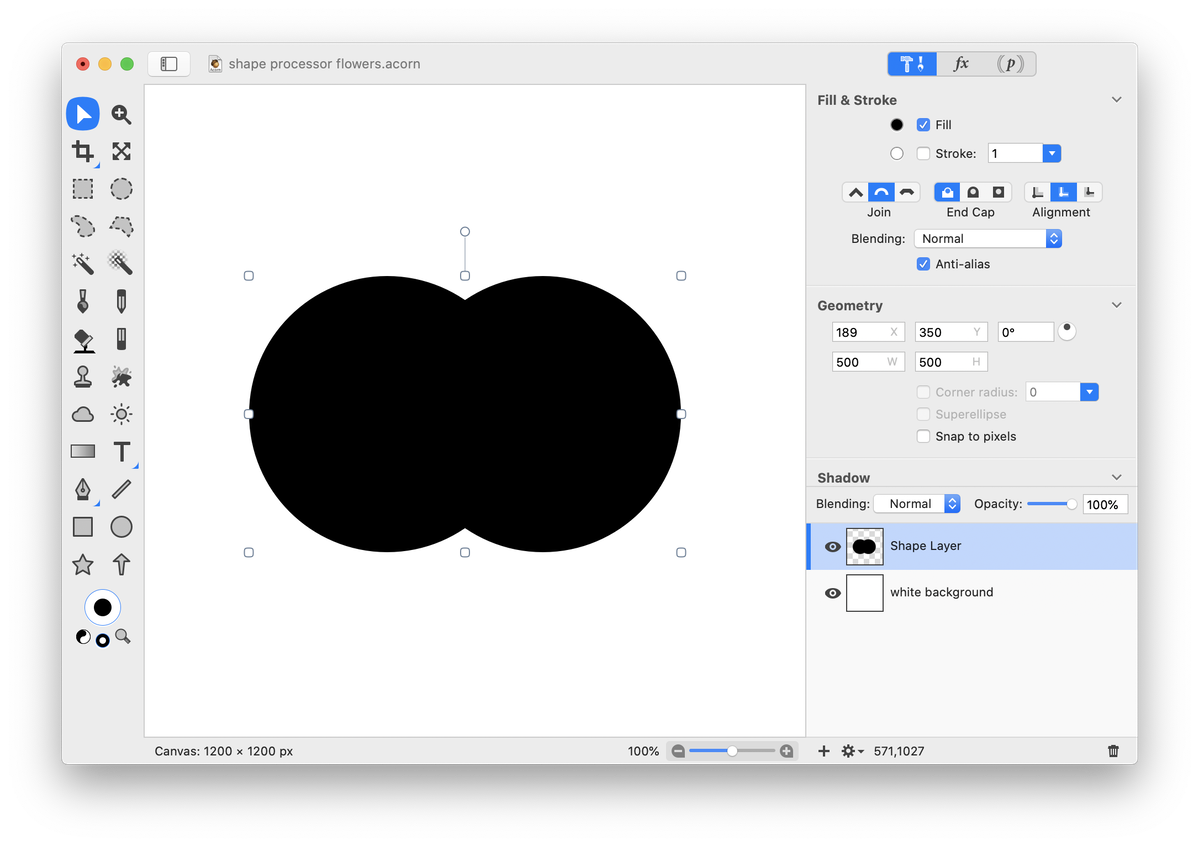
 Duplicate your circle, Shape ▸ Duplicate Shape. Using the move tool, move the duplicated circle so that it overlaps about a quarter of the original circle while still lining up on the horizontal center of the canvas. Select both shapes, Select ▸ Select All.
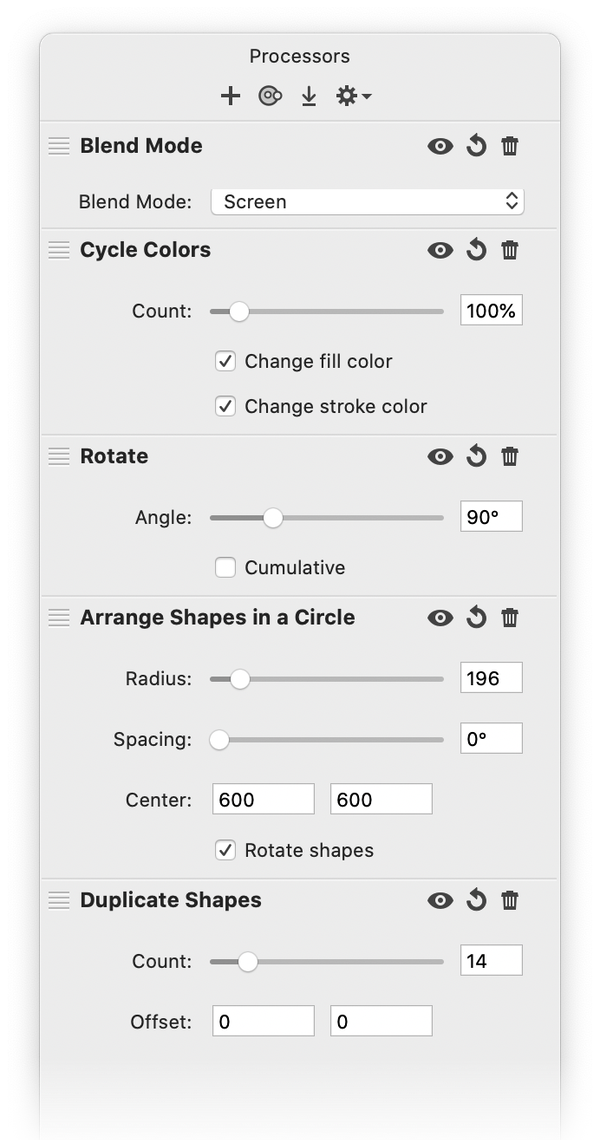
 Now choose Shape ▸ Intersect Paths. Navigate to Shape ▸ Process ▸ Duplicate Shapes. Click on the ‘+’ button in the upper lefthand corner of the shape processor window and add ‘Arrange Shapes in a Circle’, ‘Rotate’, ‘Cycle Colors’, and ‘Blend Mode’. The values used here can be seen in the image below.
 If your flower colors don’t look the same as the example here, navigate to Image ▸ Assign Color Profile and make sure it is set to sRGB.
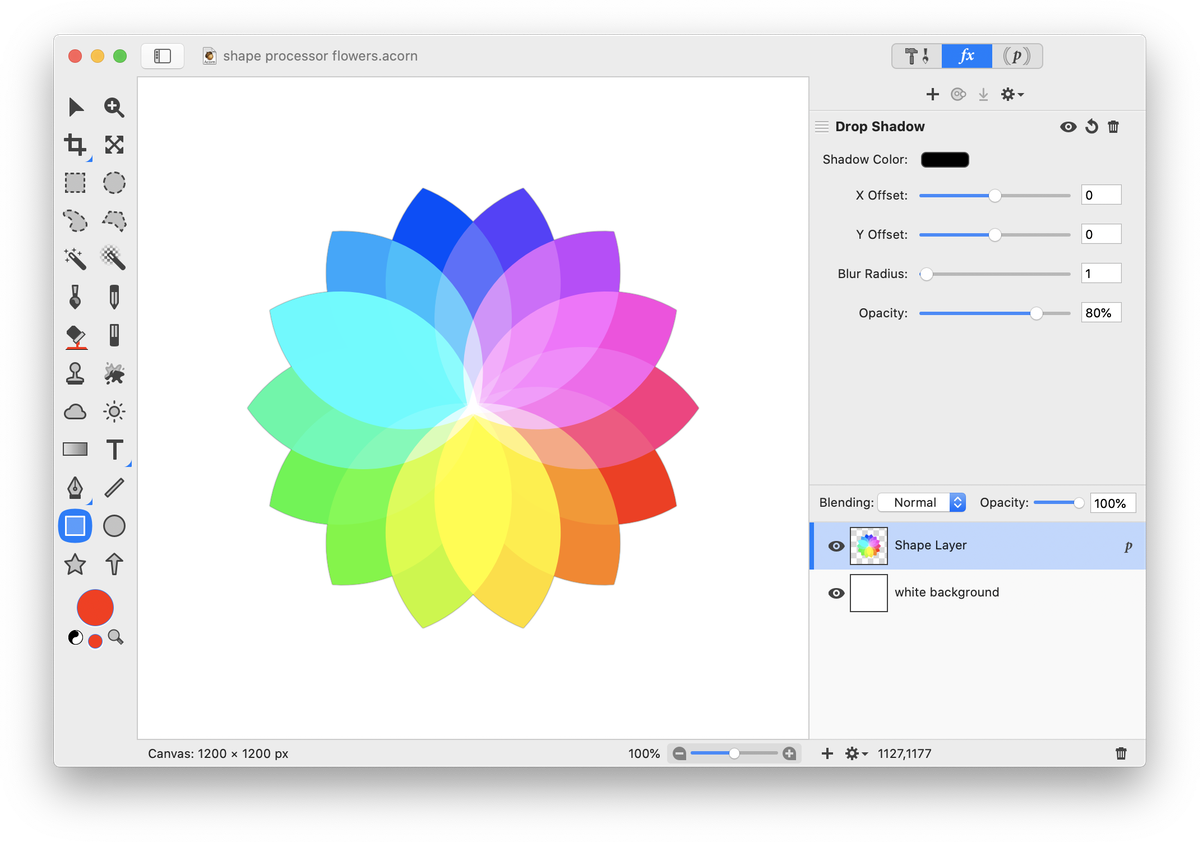
Apply a drop shadow by going to Filter ▸ Stylize ▸ Drop Shadow. The settings used here can be seen below.
 And you’re done! To easily create different flower variations, play around with the radius of the circle, the scale percentage, and the duplicate shapes value.


