Watermarking
If you are interested in watermarking a single image or just a few images, you are in the right spot. If you want to watermark a large batch of images, then check out Batch Watermarking. First things first, choose a watermark. Watermarks are typically company logos, or a copyright with an individual's name. Both examples will be explored in the examples below.
Logo Watermark
In this example an image of a dog will be watermarked with the Flying Meat logo.
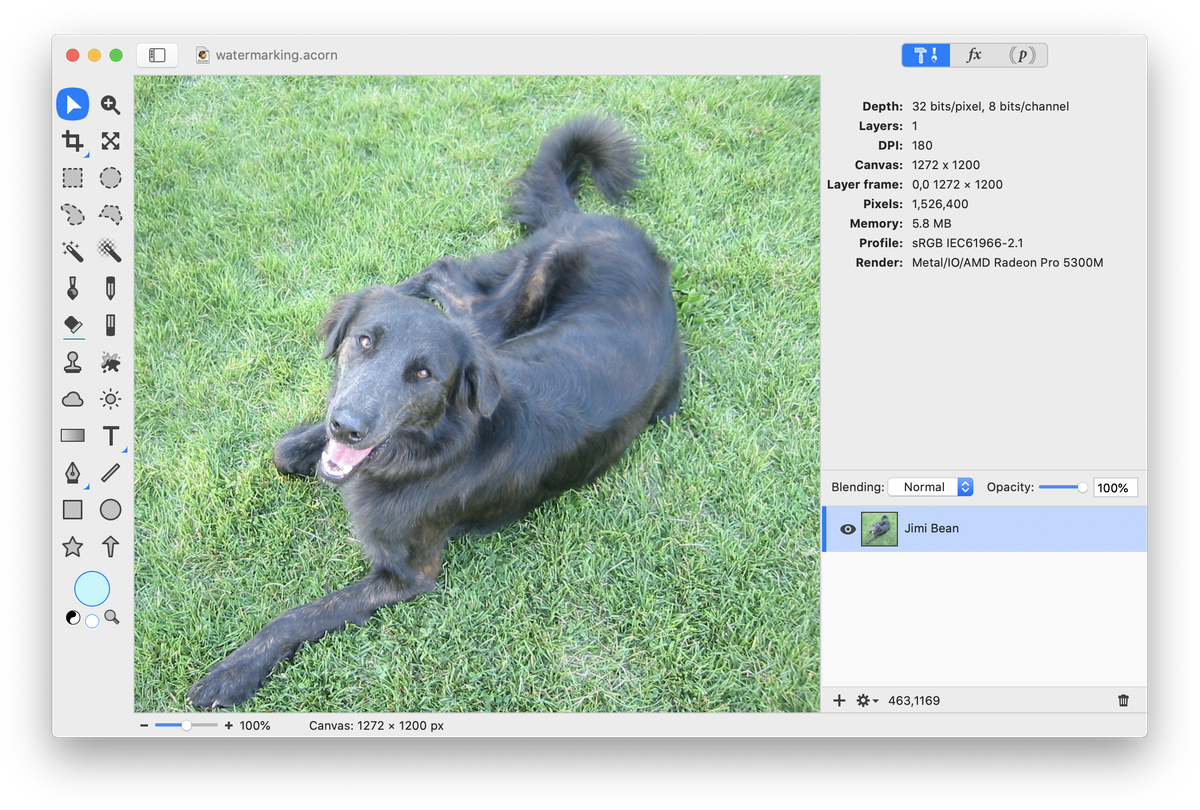 Open the image you want to watermark in Acorn, . Choose Find the file you want to be your watermark and click 'open'. Below you can see that the Flying Meat logo has been added as a layer above the dog image.
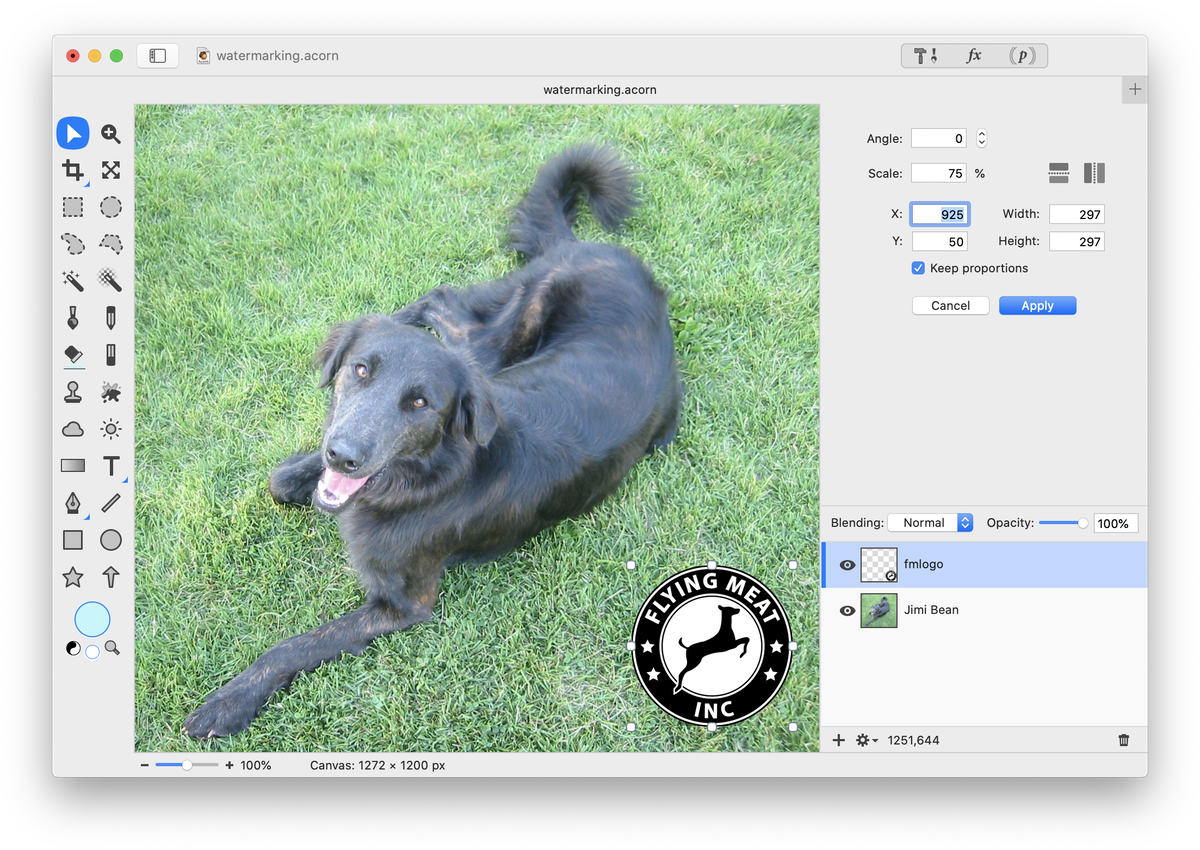
 Adjust the watermark layer size to your personal preference using (⌘⇧T) (see resizing and rotating a layer). Place your watermark where you want it. Once the size and placement looks right, click ‘Apply’ in the palette, or double click with your mouse to commit.
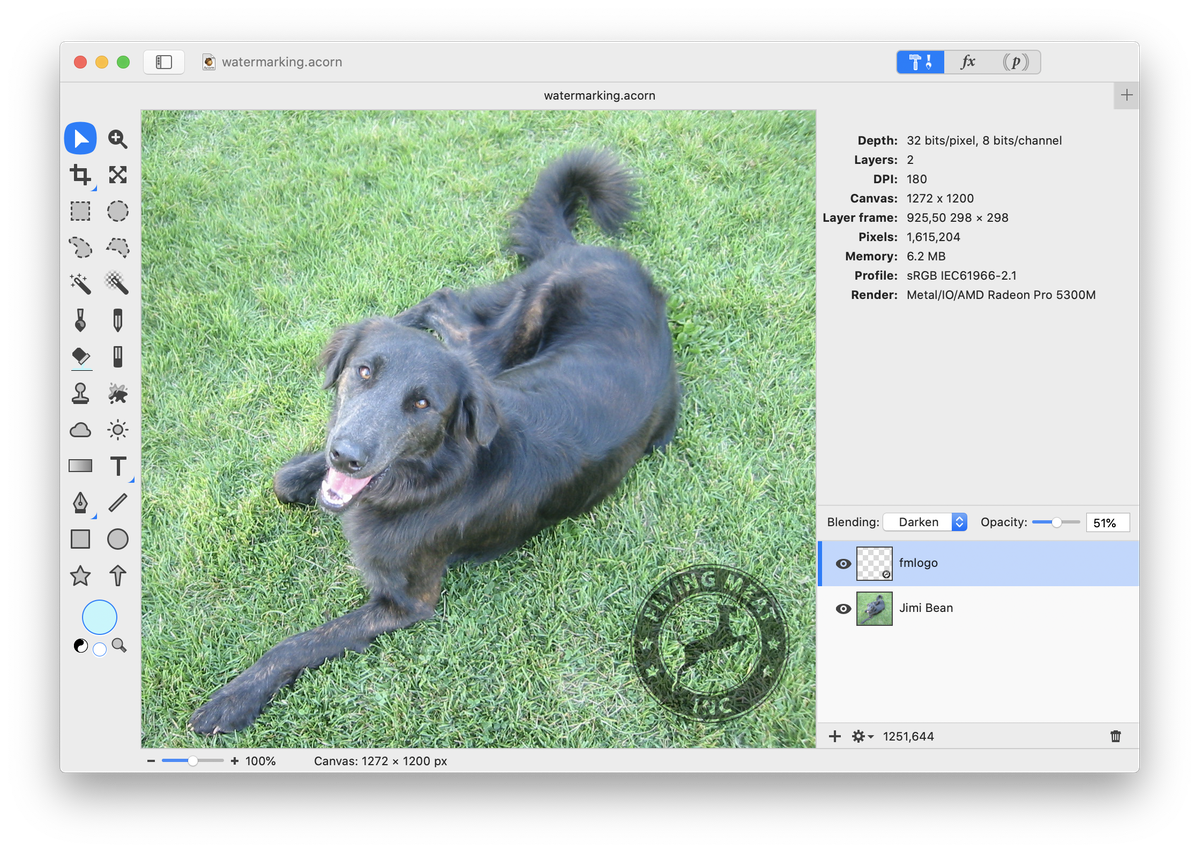
 Once you have your watermark layer sized and placed the way you want it, turn the opacity of the layer down. The watermark here looks best around 30% opacity. Also play around with the blending modes to create your desired look. You can use "Darken" to take out some of the white of the logo. Voila! You have a watermark.
 If you think you'll re-use the watermark you created in the future then select the layer with your watermark, copy that layer (⌘C), then (⌥⌘ N). Adjust the opacity to where you want it, then save!
Important Tip: Remember to always make a copy of the original image you are working with, otherwise you may find you've saved your changes and lost the original!
Text Watermark
Text watermarking is just as easy as using an image. Open up the image you want to place a watermark on in Acorn, .
Select the text tool from your tools palette and write out what you want your watermark to say in the appropriate font, size, and color.
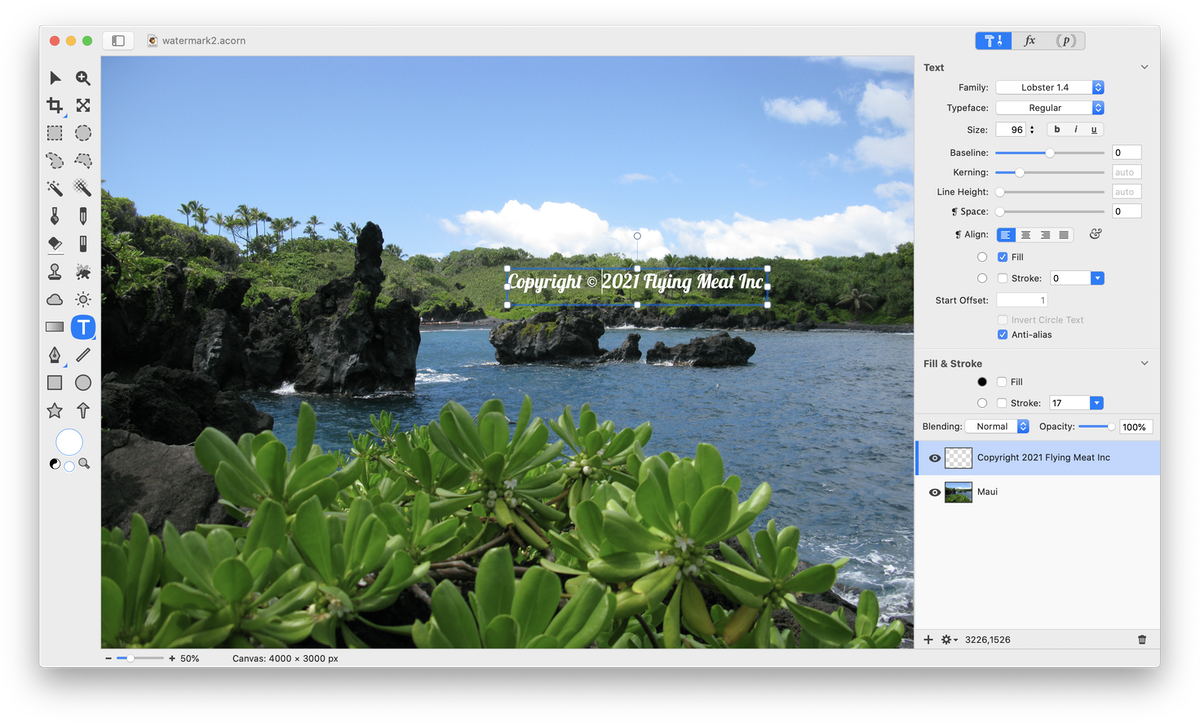 In the example below, the opacity of the text layer was reduced to 73%. Hit the escape key to end text editing and then use the move tool to place your watermark wherever you wish.
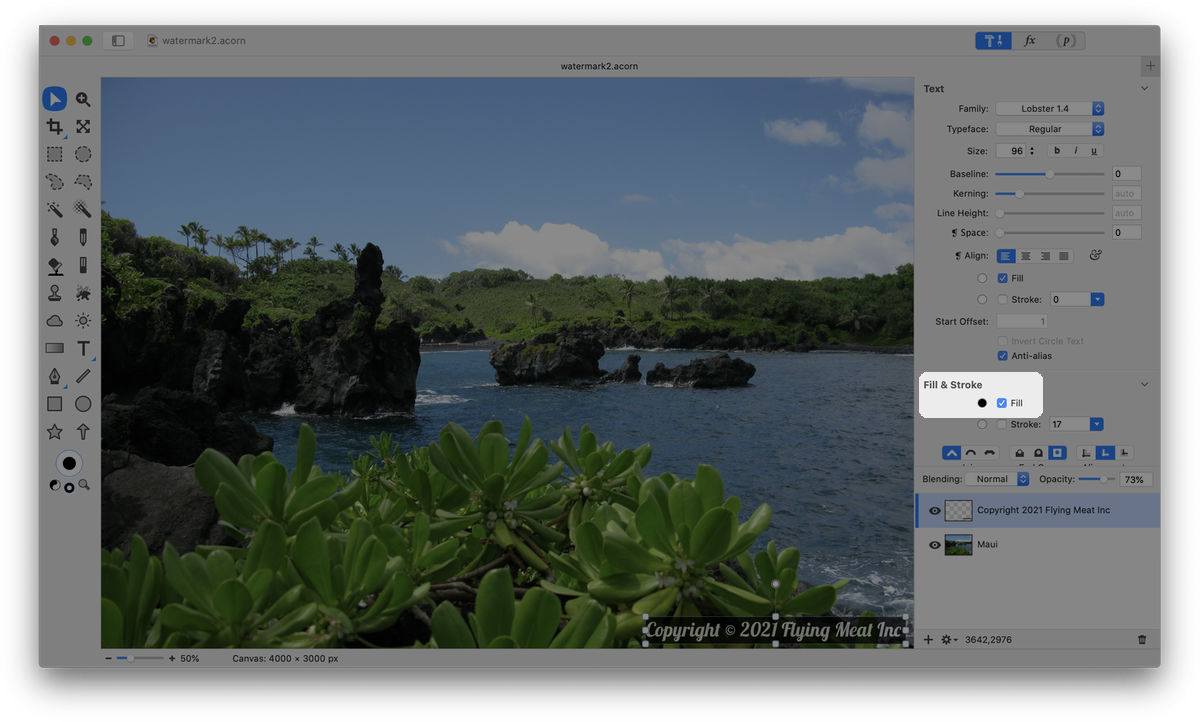
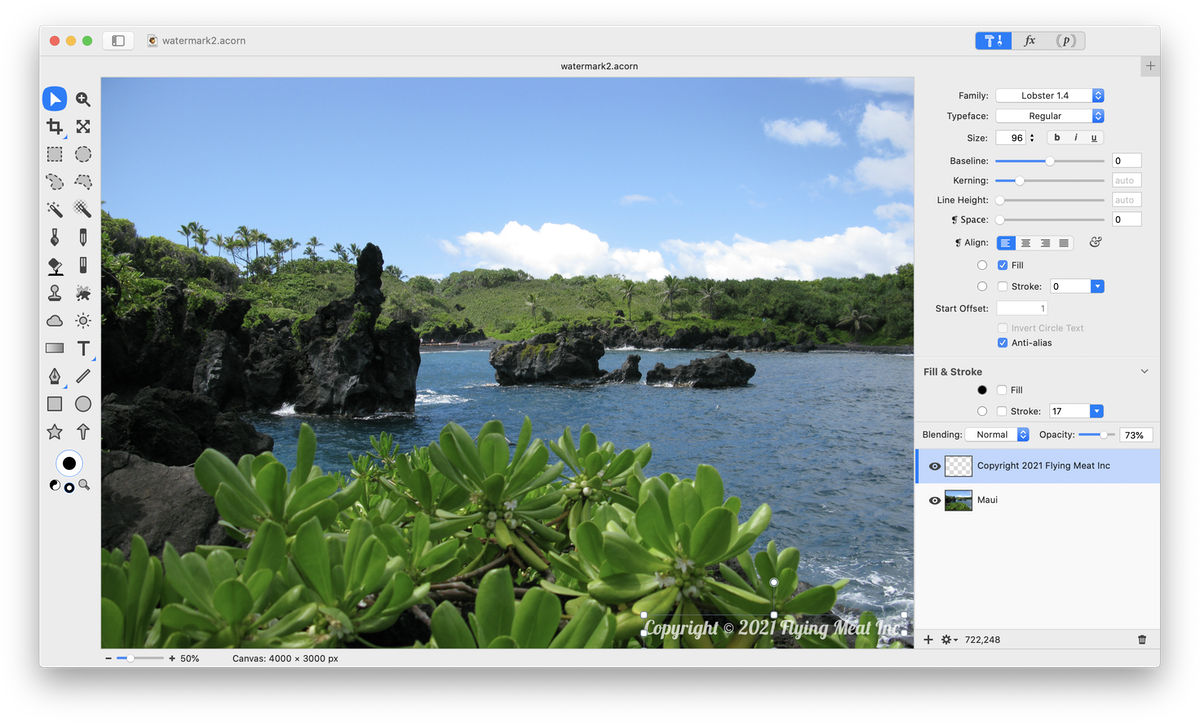 It turns out the text watermark is hard to see here. You can either experiment with changing the text color, or you can add a text box background to help the text stand out more. In the inspector palette, check the ‘fill’ box under “Fill & Stroke” to add a text box background. Click on the color well next to the fill box if you wish to adjust the text box color or opacity.
 If you think you'll want to re-use your text watermark in the future, copy that layer or group layer (⌘C), then (⌥⌘N). Adjust the opacity to where you want it, then save!


